

Quick Answer
CapCut Desktop, Filmora and PowerDirector for Windows all cover the stages that turn AI-generated clips into a complete video: arranging footage, refining timing, working with sound and captions, and exporting a finished file. CapCut is a practical place to start; Filmora and PowerDirector add separate video and audio tracks for layered work.
Key Takeaways
- Several attractive generated shots do not make a finished video. The edit gives it a structure from opening to ending.
- A combined AI clip does not split back into separate voice, music and ambience. Keep separate sound files if you will need to change them.
- Automatic captions are a draft. Check names, product terms, numbers and timing against the speech.
- Save an editable project and check asset permissions, so a later fix does not mean rebuilding the cut.
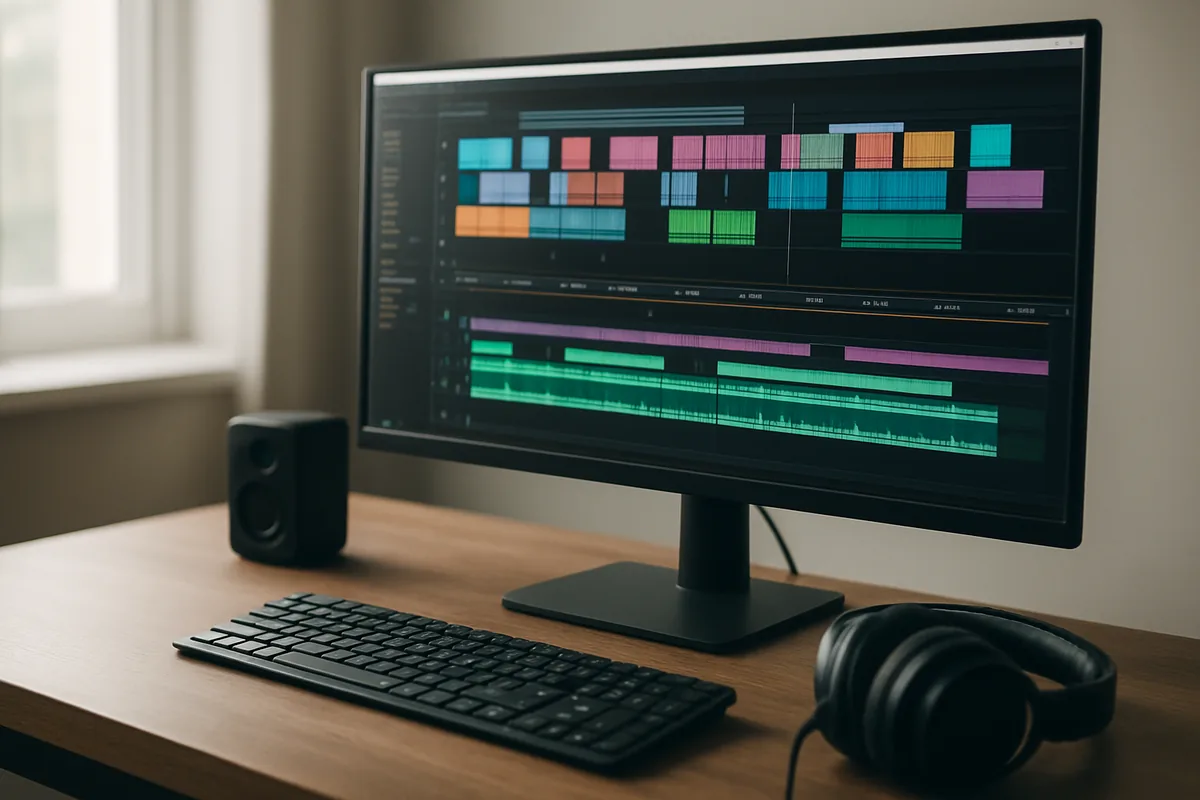
CapCut Desktop, Filmora, and PowerDirector for Windows offer the editing stages needed to turn AI-generated clips into a complete video: arranging footage, refining timing, working with sound and captions, and exporting a finished file. CapCut provides a native desktop assembly route; Filmora and Windows PowerDirector also describe separate video and audio tracks for layered work. CapCut is a practical place to start when the task is to bring several generated clips into one project, shape their order, add sound and captions, and deliver a finished cut. The useful choice depends on the revisions your video needs after generation.
A finished video has to carry a message from its opening through its ending. Several attractive generated shots do not automatically provide that structure. A clip might need a shorter entrance, a replacement detail, a separately recorded voice, or captions that explain a product accurately. The editor earns its place by making those changes possible in a project you can revisit. If you still need to create the clips themselves, start with our guide to the best AI video generators.
How CapCut, Filmora and PowerDirector Compare
| Editor | Getting clips into the edit | Sound and captions | Continuing to delivery |
|---|---|---|---|
| CapCut Desktop | Import files to the timeline; split clips; use native AI video tools where available | Music selection and automatic captions in its desktop guide | Further editing and export settings for the final video |
| Filmora | Import and arrange footage on multiple tracks; continue editing generated material | Timeline audio controls, audio ducking, and editable caption text, timing, and style | Finished-video export |
| PowerDirector for Windows | Timeline editing with video and audio tracks; generated material can arrive on the timeline | Audio ducking and speech-to-text captions in its Windows feature set | Video production export within its Windows format support |
The tool descriptions come from the CapCut PC guide, Filmora’s timeline tools and caption guide, and PowerDirector’s Windows features and specifications.
Start with the complexity of the edit. A sequence assembled from finished clips has different needs from a cut with overlapping pictures, narration, music, and repeated changes to individual layers. Also separate the editor’s native tools from a connected service such as CapCut × ChatGPT. For a wider list of desktop options, see our roundup of the best free video editing software for PC.
Bring the Generated Clips Into an Editable Project
Begin by collecting the usable shots, the source material you will add, and the sound the sequence needs. Put them into an editing project before judging whether the video is complete. This gives you a place to make decisions across the whole sequence.
Import Existing Clips Without Treating Them as a Finished Sequence
CapCut’s PC guide describes importing files and dragging them into the timeline. Wondershare’s timeline guide describes importing media, arranging clips across tracks, and repositioning content. For Windows PowerDirector, the format specifications define the supported input and production formats.
Inspect the actual files before assembling the sequence. Note their picture shape, frame rate, audio content, and which shot version is the approved one. Import the clips you intend to use and play them in the project. This is more useful than assuming that every file produced by an AI service will behave identically in an editor.
A generated clip may already combine picture, dialogue, music, and ambience in one file. Trimming it does not recover all those components as separate editable objects. If the voice or soundtrack will need independent changes, keep separately supplied sound files with the project rather than relying on the combined clip to provide them.
Use Generation and Editing in the Same Workflow When It Helps
Integrated generation is useful when an edit reveals a missing shot. Wondershare’s AI Text to Video guide describes editing generated material in Filmora’s timeline, including adding your own clips and changing timing or music. It also distinguishes model-based clip generation from a script route that matches library visuals and music. Choose the route according to whether you need a new image sequence or an assembly of existing assets.
CyberLink’s Windows features describe text-to-video and image-to-video tools, with Agentic Editor results arriving on the timeline. CapCut’s native PC guide describes AI media / AI video within desktop editing.
CapCut × ChatGPT has a conversation-led starting point. According to CapCut, it can build an editable draft from a prompt or uploaded material in the ChatGPT desktop app on PC and open the CapCut editor from the same chat for further adjustments.
Assemble the Story and Fix the Pacing
In CapCut Desktop, import the chosen clips into a project and arrange them on the timeline. Trim the opening and ending of each shot, move clips into the intended order, and play the sequence before adding transitions. If a generated detail distracts from the message, replace that shot rather than relying on a transition to conceal it. CapCut’s PC guide describes importing, timeline editing, captions, and export; interface labels can vary.
Arrange the clips around the information a viewer needs, then cut anything that delays or confuses that information. For an illustrative product explainer, an opening can establish the problem, a demonstration can show the product in use, a detail can support the message, and the ending can state the next action. Each shot needs a reason to stay.
Make an initial assembly before polishing transitions. A visually impressive generated shot may still be the wrong length or show the wrong action. Shorten it when the information has been understood; replace it when the action is misleading. Return to generation for a missing or unusable shot, not simply because another variation is available.
The editors provide different ways to refine timing. CapCut’s desktop guide describes selecting a timeline clip and positioning the playhead for Split. Wondershare lists ripple, slip, and slide tools for fine adjustments in Filmora. CyberLink describes timeline speed changes in Windows PowerDirector.
After a timing change, watch the join with the preceding and following shots. Look for a jump in subject position, a change in action, a mismatched picture shape, or a transition that conceals information. A timeline gives you the means to reorganize the footage; deciding whether the shots tell a coherent story remains part of the edit.
Make the Audio and Captions Work Across the Whole Sequence
Treat sound and captions as continuous parts of the video. A good-looking picture edit can still be difficult to follow if the voice changes level, music ends abruptly, or a caption appears after the statement it explains.
Balance Dialogue, Music, and Generated Sound
Listen to each generated clip before adding another soundtrack. Decide which dialogue, music, or ambience you want to retain. If a combined soundtrack conflicts with the intended narration, revise the sound arrangement rather than layering additional audio over an unresolved problem.
CapCut’s PC guide describes selecting background tracks through Audio / Music. Wondershare’s Filmora timeline page lists waveforms, volume, keyframes, and synchronization. Its Audio Ducking guide describes lowering background sound around primary audio such as dialogue or narration. CyberLink similarly describes Audio Ducking for fading backing tracks so speech can be heard.
These controls are reasons to include the tools in your comparison, not a substitute for listening to the completed sequence. Check the entrance and exit of music, changes between shots, and moments when voice and background sound overlap. If one clip has generated sound already mixed into it, an additional music track may require a different arrangement from a clip with clean narration. Music-led projects have their own pacing rules, covered in our step-by-step guide to making an AI music video.
Generate Captions, Then Review Them in Context
Automatic captions provide editable text to review. CapCut’s desktop guide describes Captions / Auto captions. Wondershare’s speech-to-text guide explains correcting caption text, timing, and style on the timeline. CyberLink’s Windows feature page describes transcription and captions that enter the project.
Read every line against the speech and the intended message. Correct names, product terms, numbers, and punctuation; then check where the line starts and ends. A correctly recognized sentence can still be difficult to read if its timing is too short or its line break separates words awkwardly.
Watch captions at the size the audience will see. A layout that appears clear in a large editing preview may cover a demonstration or crowd a smaller screen. Adjust text density and placement so the caption supports the picture. Font and color choices belong to this readability check; they do not repair an incorrect transcript.
Keep a Revisable Project and Export the Actual Deliverable
Save the editable project with the media needed to reopen it. Keep track of accepted shot versions and replace rejected files deliberately. This allows a later correction to a caption or a shot without rebuilding the entire cut from an exported video.
Project saving, previewing, and final export are separate actions. CapCut’s PC guide describes export controls including resolution, frame rate, codec, and bitrate. Filmora’s timeline guide describes finished-video export, while CyberLink lists Windows video production formats.
Use the actual destination’s delivery requirements to choose picture shape, resolution, frame rate, encoding, and caption presentation.
Keep asset permissions alongside the project. Uploaded footage, library music, generated material, and third-party graphics can have different usage conditions. The availability of an asset in an editor does not by itself settle whether your intended use is covered.
What Makes the Video Finished Rather Than Merely Generated?
A finished video communicates its intended message clearly, has coherent picture, sound, and captions, and matches the requested delivery format. Review it as a viewer would: does the opening establish the message, does each shot advance it, and does the ending complete it?
Then check the delivery itself:
- Replace or remove visible generation errors that change the intended meaning.
- Listen across cuts for clear speech, balanced music, and sound that matches the picture.
- Read the captions for factual accuracy, timing, and space around the subject.
- Confirm the file matches the requested output and that its opening and ending are intact.
- Reopen the saved project so another revision remains possible.
For a project that starts with several AI-generated clips, CapCut Desktop is a clear option for assembling the sequence, adding captions and sound, and exporting a finished video. The deciding question is whether you can make the required correction and deliver the revised video—not whether the generator has produced its last preview.
FAQ
Which editor should I use for AI-generated clips?
CapCut Desktop is a practical place to start when you need to bring several generated clips into one project, order them, add sound and captions, and export a finished cut. Filmora and PowerDirector for Windows also describe separate video and audio tracks for more layered work.
Can I separate the voice and music in a generated clip?
Not by trimming it. A generated clip may combine picture, dialogue, music and ambience in one file. If you need to change the voice or soundtrack on its own, keep separately supplied sound files with the project.
Are automatic captions accurate enough to publish?
Treat them as editable text to review. Check every line against the speech, correct names, product terms, numbers and punctuation, then check the timing and how the captions look at the size viewers will see.
What is CapCut × ChatGPT?
According to CapCut, it builds an editable video draft from a prompt or uploaded material in the ChatGPT desktop app on PC, and lets you open the CapCut editor from the same chat for further adjustments.