

To convert HEIC to JPG on Windows, the simplest free method is Windows Paint: open the HEIC file, then choose File > Save as > JPEG picture. For files to open at all, install the free HEIF Image Extensions from the Microsoft Store first, plus the HEVC Video Extensions for iPhone photos. For large batches, use PowerShell or IrfanView.
- Easiest method: Open the file in Windows Paint and choose File > Save as > JPEG picture — no extra tools
- Open HEIC first: Install the free HEIF Image Extensions; iPhone photos also need the HEVC Video Extensions
- HEVC codec: Free through the “HEVC Video Extensions from Device Manufacturer” listing, or $0.99 for the standard one
- Large batches: A PowerShell script or the free IrfanView viewer converts hundreds of files at once
- Privacy: Avoid online converters for personal photos — the built-in methods keep every file on your PC
Your iPhone takes photos in HEIC format by default — Apple’s space-efficient image format that Windows doesn’t natively support. When you transfer photos from your iPhone to a Windows PC, you get files that won’t open in many apps, can’t be uploaded to certain websites, and won’t display in older image viewers.
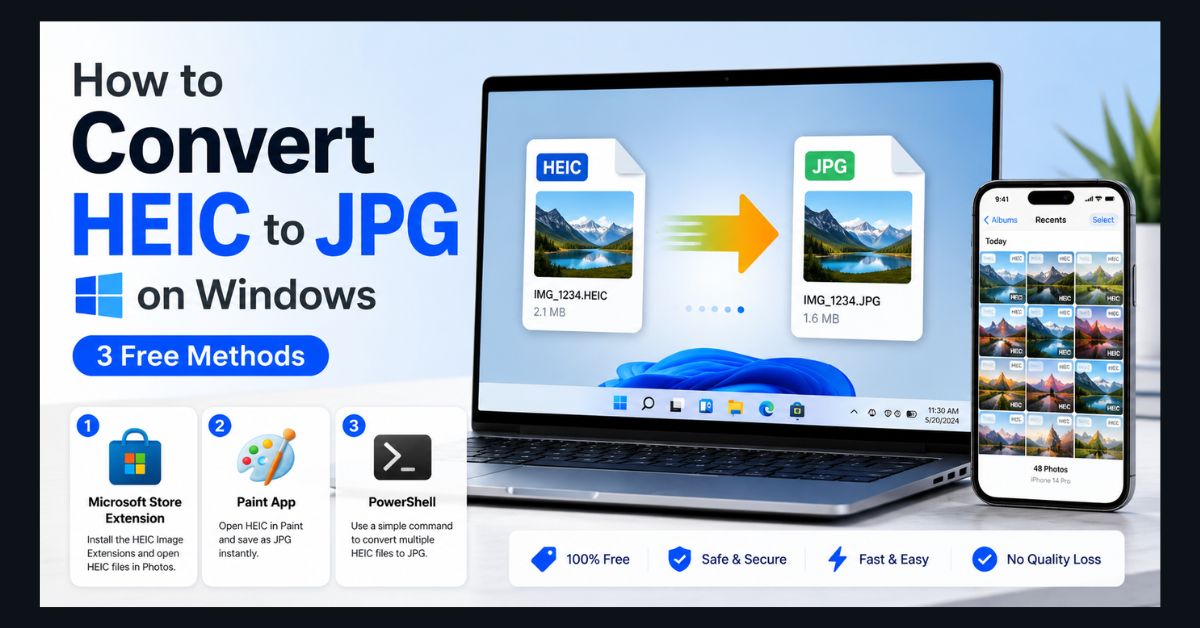
The fix is straightforward, and you don’t need to pay for conversion software or upload your personal photos to random websites. Here are three free methods, starting with the one that permanently solves the problem.
Why iPhones Use HEIC Instead of JPG
HEIC (High Efficiency Image Container) produces files roughly 50% smaller than JPG at the same visual quality. Apple adopted it as the default iPhone format in 2017 to save storage space — a 3 MB JPG becomes a 1.5 MB HEIC with no visible quality loss.
The trade-off is compatibility. Windows, many websites (including some upload forms and printing services), and older software don’t support HEIC natively. That’s why you need to convert — or better yet, teach Windows to understand HEIC files permanently.
You can also change your iPhone’s default going forward: go to Settings → Camera → Formats → select “Most Compatible.” This shoots in JPG from now on, but doesn’t convert your existing HEIC photo library. Once your photos are in JPG, they’re also easier to upload into web tools if you want to edit photos with AI for background removal, retouching, or quick quality enhancements.
Method 1: Install the Free HEIF Extension From Microsoft (Permanent Fix)
This is the best approach because it solves the problem once and forever. After installing, Windows handles HEIC files like any other image format — no conversion needed.
Open the Microsoft Store (search “Microsoft Store” in the Start menu). Search for “HEIF Image Extensions” and install the free extension published by Microsoft Corporation. The download is small (under 10 MB) and takes about 30 seconds.
One extra step applies specifically to iPhone photos. iPhone HEIC files are compressed with the HEVC (H.265) codec, so Windows also needs the HEVC Video Extensions to decode them. Many new Windows 11 PCs already include this codec, but if your HEIC files still won’t display after installing the HEIF extension, search the Microsoft Store for the free “HEVC Video Extensions from Device Manufacturer” listing, or install the standard “HEVC Video Extensions,” which costs about $0.99 in the US (as of September 2026). Both packages come from Microsoft.
After installing, restart File Explorer (or restart your PC). HEIC files now display thumbnails in File Explorer, open in the Photos app, work in Paint, and are recognized by virtually every Windows application.
To save a HEIC file as JPG after installing the extension: Open the HEIC file in the Photos app, click the three-dot menu (⋯) in the top toolbar, select “Save as,” and choose JPEG as the format. Alternatively, open the file in Paint (right-click → Open with → Paint), then go to File → Save As → JPEG picture.
This method is best for ongoing use — install once, and HEIC files work seamlessly across Windows from that point forward. If your Windows 11 has been slow after a recent update, the extension doesn’t add any noticeable performance overhead.
Method 2: Use Windows Paint (Often No Extra Install Needed)
Windows Paint can open and convert HEIC files, but only when the HEIF Image Extensions are installed. Windows 11 does not decode HEIC natively, even on version 24H2 or 25H2. Many new PCs ship with the HEIF and HEVC extensions preinstalled, so Paint may open your HEIC files immediately without you installing anything. When it does, this is the fastest way to convert a single file.
- Step 1: Right-click the HEIC file → Open with → Paint.
- Step 2: In Paint, click File → Save As → JPEG picture.
- Step 3: Choose your save location, name the file, and click Save.
The JPG file is created alongside the original HEIC file — the original isn’t deleted or modified.
If Paint shows an error when opening the HEIC file, the required extensions are missing, not your Windows version. Install the free HEIF Image Extensions (and, for iPhone photos, the HEVC Video Extensions) from Method 1, then try again. To check your build, go to Settings → System → About → Windows specifications → Version.
For batch converting multiple files manually: Open each HEIC file in Paint, Save As JPG, close, and repeat. It’s tedious for more than 10 files, but it requires zero additional tools. If you have dozens or hundreds of files, Method 3 is significantly faster.
Method 3: Use PowerShell for Batch Conversion (Advanced)
For converting an entire folder of HEIC files at once — say, 200 photos from a vacation — a PowerShell script automates the process. This requires the HEIF extension from Method 1 to be installed first.
- Step 1: Open PowerShell as administrator (search “PowerShell” in Start, right-click, select “Run as administrator”).
- Step 2: Navigate to your photos folder:
cd “C:\Users\YourName\Pictures\iPhone Photos”
- Step 3: Run this conversion command:
Add-Type -AssemblyName System.Drawing
Get-ChildItem -Filter *.heic | ForEach-Object {
$image = [System.Drawing.Image]::FromFile($_.FullName)
$jpgPath = $_.FullName -replace ‘\.heic$’, ‘.jpg’
$image.Save($jpgPath, [System.Drawing.Imaging.ImageFormat]::Jpeg)
$image.Dispose()
Write-Host “Converted: $($_.Name)”
}
Replace the folder path in Step 2 with the actual location of your HEIC files. The script converts every HEIC file in the folder to JPG, keeping the originals intact. Each converted file appears alongside the original with the same name but a .jpg extension.
Important notes: This method preserves the original HEIC files — nothing is deleted. The JPG files are created at standard JPEG quality (approximately 75%). If you need higher quality, you can modify the script to use a JPEG encoder with custom quality settings, but for most use cases (sharing, printing, uploading), standard quality is indistinguishable from the original.
Which Method Should You Use?
- For most people: Install the HEIF extension (Method 1) and never think about HEIC again. Your Windows PC will handle HEIC files natively, and you only need to convert to JPG when a specific app or website requires it.
- For a quick one-time conversion: Use Paint (Method 2). No setup, no installation — just open and Save As.
- For converting a large batch of files: Use the PowerShell script (Method 3). It handles hundreds of files in seconds.
If you’re dealing with other iPhone issues alongside photo format problems, check our iPhone troubleshooting guide. And if your converted photos need editing — background removal, quality enhancement, or style changes — our guide to the best free AI image generators covers tools that work with JPG files.
For anyone worried about accidentally deleting original photos during conversion, our guide to recovering deleted files on Windows 11 covers how to get files back if something goes wrong. And if your PC feels sluggish while processing large photo batches, our laptop speed optimization guide can help free up resources.
FAQ
1. Does converting HEIC to JPG reduce photo quality?
Slightly, yes. JPG is a lossy format, so there’s a minor quality reduction during conversion. For everyday photos — social media, sharing, printing up to 8×10 — the difference is imperceptible to the human eye. For professional photography where maximum quality matters, consider converting to PNG instead (lossless) using the same Save As method — just select PNG instead of JPEG.
2. Can I convert HEIC to JPG online for free?
Yes, websites like CloudConvert and iLoveIMG offer free HEIC-to-JPG conversion. However, we don’t recommend online converters for personal photos. They upload your images to third-party servers, creating privacy risks — you’re trusting a random company with your family photos, selfies, and personal moments. The three methods in this guide keep your photos entirely on your PC.
3. Why can’t Windows open HEIC files by default?
HEIC files can’t open in Windows by default because they use the HEVC (H.265) codec, which carries patent-licensing fees that Microsoft doesn’t cover for every user. Windows needs two add-ons from the Microsoft Store: the free HEIF Image Extensions for the image container, and the HEVC Video Extensions for the codec itself. The HEVC package is free through the “HEVC Video Extensions from Device Manufacturer” listing or about $0.99 through the standard one.
4. Will changing my iPhone to shoot in JPG use more storage?
Yes. JPG files are approximately 50% larger than HEIC files at the same quality. A 256 GB iPhone that stores roughly 80,000 HEIC photos would store approximately 50,000-55,000 JPG photos. If storage is tight, keep shooting in HEIC and convert only when needed for Windows compatibility.
5. Can I batch convert HEIC files without the command line?
If PowerShell feels too technical, install the free IrfanView image viewer (irfanview.com). Open IrfanView → File → Batch Conversion/Rename → add your HEIC files → set output format to JPG → click Start Batch. IrfanView is free, lightweight, and handles batch conversion with a visual interface.