

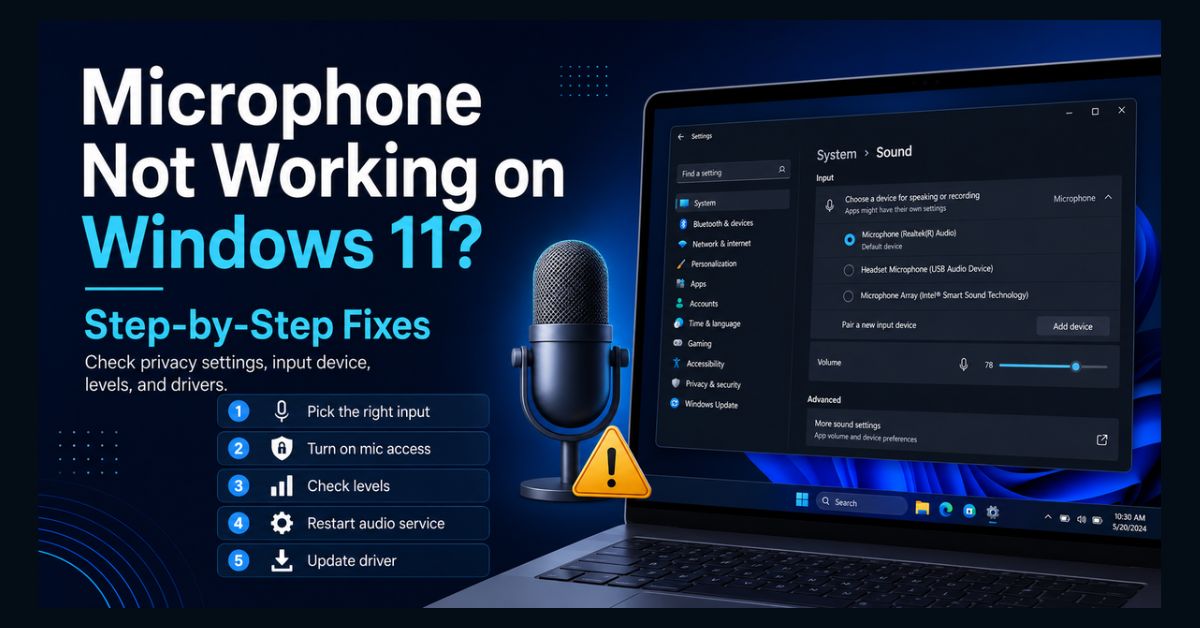
If your microphone isn’t working on Windows 11, the most common cause is a privacy permission blocking access or the wrong input device selected, not broken hardware. Most fixes take under a minute: pick the right mic in Sound settings, turn on microphone access in Privacy settings, check levels, then update the driver. Test after each step.
- #1 culprit: a microphone privacy toggle switched off, often reset by an update
- Fast diagnostic: watch the test volume bar in Sound settings
- Works in one app, not another: a per-app permission or “exclusive mode”
- After an update: reinstall or roll back the audio driver
- Rule: test your mic after each step and stop once it works
A dead microphone always strikes at the worst moment, usually thirty seconds before a Teams or Zoom call, while Windows insists everything is fine. The good news is that almost every cause is a quick software fix: the wrong input device, a privacy permission, muted levels, a stalled audio service, or a driver that broke after an update.
The steps below are ordered from the fastest, safest checks to the deeper driver fixes. Work through them in order, test your mic after each one, and stop as soon as your voice comes through.
Why is my microphone not working on Windows 11?
In most cases, the microphone hardware is fine and something in Windows is blocking it. The usual suspects are a privacy permission turned off, the wrong input device selected, muted or zeroed levels, an app holding exclusive control, or a driver glitch after a Windows update.
One quick diagnostic tells you which way to go. If Windows shows a test volume bar that moves when you speak (covered in Step 2), the hardware works and the problem is permissions or app settings. If the bar never moves, focus on device selection, drivers, or the hardware itself.
Symptom-to-fix quick guide
Use this to jump to the most likely fix.
| Symptom | Most likely cause | Go to |
| No mic detected at all | Wrong/disabled device or driver | Steps 1 and 7 |
| Works in one app but not another | Per-app permission or exclusive mode | Steps 3, 5, and 8 |
| Stopped after a Windows update | Reset permission or replaced driver | Steps 3 and 7 |
| Test bar moves but apps hear nothing | Privacy permissions | Step 3 |
| Wireless headset mic dead | Bluetooth profile / pairing | Pre-check below |
Before you start: one quick test
Spend thirty seconds ruling out hardware. If you can, test the same microphone on a phone or another PC. If it fails there too, the mic itself is likely broken. A few physical checks:
- Check for a hardware mute switch or button on a headset cable or earcup.
- Reseat the connector, and for USB mics try a different port and avoid unpowered hubs.
- For a Bluetooth headset, make sure it is connected; if the mic is dead or sounds bad, the headset may be on the wrong profile, our Bluetooth troubleshooting guide covers re-pairing.
Step 1: Select the right input device
Windows often defaults to the wrong microphone, especially right after you plug in a headset or webcam.
- Go to Settings > System > Sound.
- Under Input, open Choose a device for speaking or recording.
- Select the microphone you actually want to use.
Test your mic now. If it works, you are done.
Step 2: Test your microphone
This step tells you whether Windows is hearing any sound at all.
- Go to Settings > System > Sound and select your mic under Input.
- Choose Start test, speak normally, then Stop test.
- Watch the volume bar as you talk.
If the bar moves, the hardware is fine, go straight to Step 3 for permissions. If it never moves, the issue is device selection or drivers (Steps 1 and 7).
Step 3: Check microphone privacy permissions (the most common fix)
This is the single most frequent cause, and Windows updates often reset these toggles to off for individual apps.
- Go to Settings > Privacy & security > Microphone (or press Windows + R and run ms-settings:privacy-microphone).
- Turn on Microphone access (the master switch, if this is off, nothing works).
- Turn on Let apps access your microphone.
- Scroll the app list and enable the toggle for the specific app that is failing (Zoom, Teams, Discord).
- At the bottom, turn on Let desktop apps access your microphone (this covers programs not from the Microsoft Store).
Close and reopen the affected app so it picks up the new permission. Microsoft’s own fix microphone problems guide lists these same toggles as the first thing to check after an update.
Step 4: Run the audio troubleshooter
Windows can detect and fix many input problems automatically, including a stalled Windows Audio service.
- Go to Settings > System > Troubleshoot > Other troubleshooters.
- Find Audio and select Run. On current Windows 11 versions, this opens the Audio troubleshooter in the Get Help app, which replaced the older built-in troubleshooters.
- Apply any suggested fix, then restart and test.
Step 5: Check levels and turn off exclusive mode
Even with permissions correct, the mic can be muted, set to zero, or locked by another app. The exclusive-mode setting is a commonly missed cause when a mic works in one app but not another.
- Go to Settings > System > Sound, scroll to Advanced, and select More sound settings.
- In the Recording tab, right-click your mic, choose Properties, and confirm it is set as the default device.
- On the Levels tab, raise the volume and make sure the mic is not muted.
- On the Advanced tab, uncheck Allow applications to take exclusive control of this device.
If the mic does not appear in the Recording tab, right-click an empty area and enable Show Disabled Devices, then enable it.
Step 6: Restart the Windows Audio service
A stuck audio service can silence the mic until it is restarted.
- Press Windows + R, type services.msc, and press Enter.
- Find Windows Audio, right-click it, and choose Restart.
- Do the same for Windows Audio Endpoint Builder and Remote Procedure Call (RPC).
Leave Remote Procedure Call (RPC) running if its Restart option is greyed out. Windows 11 does not allow that core service to be stopped, so restarting the two audio services is enough in that case.
Step 7: Update, roll back, or reinstall the audio driver
Driver problems are common after Windows feature updates, which sometimes replace a manufacturer’s audio driver with a generic one.
- Right-click Start and open Device Manager.
- Expand Audio inputs and outputs, right-click your microphone, and choose Update driver > Search automatically.
- If the mic broke right after an update, open the device’s Driver tab and try Roll Back Driver.
- As a last resort, choose Uninstall device and restart; Windows reinstalls the driver on reboot.
For best results, reinstall the official driver from your PC maker’s support site; most major brands publish a dedicated guide, such as Dell’s microphone troubleshooting page. Note that uninstalling can temporarily remove vendor audio features (Realtek, Nahimic, Dolby) until you reinstall them. If the trouble started after a recent update, our guide to a Windows 11 update gone wrong and our update stuck fixes cover related issues.
Step 8: Check the app’s own settings
If Windows hears your mic but one app does not, the problem is inside that app. Apps like Teams, Zoom, and Discord have their own microphone picker and cache their permission state separately from Windows.
- Open the app’s audio or voice settings and select the correct input device.
- Use the app’s built-in mic test if it has one.
- Fully quit and relaunch the app so it re-checks permissions.
For browser-based calls, also check the site’s microphone permission in your browser. If you record audio often, our roundup of free screen recording software includes tools with their own input controls.
Still not working?
If you have worked through every step, a few less common causes remain. On a work or school PC, Group Policy or security software can lock microphone access, in which case the privacy toggles may be greyed out and you will need your IT admin. A recent buggy Windows build can also break audio input, so check for newer optional and cumulative updates, and if you are still stuck, Microsoft’s official Microsoft Q&A community is a useful place to search for build-specific fixes. And if the mic is dead everywhere, including a second device, it is a hardware fault, time for a replacement, which pairs well with keeping a cheap wired USB mic as a backup. Keeping your PC healthy generally also helps, as our guide to making your laptop faster explains.
How to prevent microphone problems
A few habits keep audio reliable:
- After installing Windows feature updates, check Optional updates for vendor audio drivers and recheck your mic permissions.
- Avoid running multiple third-party audio enhancement apps at once, since they conflict over device access.
- When you switch headsets often, reselect your input device to clear stale profiles.
- Keep a wired USB microphone on hand as a backup for Bluetooth failures.
FAQ
Why is my microphone not working on Windows 11?
Usually it is a software cause, not hardware: a microphone privacy permission turned off, the wrong input device selected, muted levels, an app holding exclusive control, or a driver that broke after a Windows update. Checking the input device and privacy permissions resolves the large majority of cases in a couple of minutes.
How do I turn on microphone access in Windows 11?
Go to Settings, then Privacy & security, then Microphone. Turn on Microphone access, Let apps access your microphone, and, at the bottom, Let desktop apps access your microphone. Then scroll the app list and enable the toggle for the specific app that needs the mic, such as Zoom or Teams.
Why does my mic work in one app but not another?
This is almost always a per-app permission toggle that is switched off, or the exclusive-mode setting that lets one app take full control of the microphone and lock out the others. Enable the app’s toggle in microphone privacy settings, and uncheck exclusive control in the mic’s Advanced properties.
My microphone stopped working after a Windows update. How do I fix it?
Windows updates often reset per-app microphone permissions to off or replace your audio driver with a generic one. First re-enable the app’s toggle under Privacy & security, then Microphone. If that fails, roll back or reinstall the audio driver in Device Manager, ideally using the driver from your PC maker’s site.
How do I test my microphone on Windows 11?
Go to Settings, then System, then Sound, and select your microphone under Input. Choose Start test, speak normally, then Stop test, and watch the volume bar. If the bar moves, Windows is detecting sound and any remaining issue is permissions or an app setting; if it does not move, check device selection and drivers.